Introduction
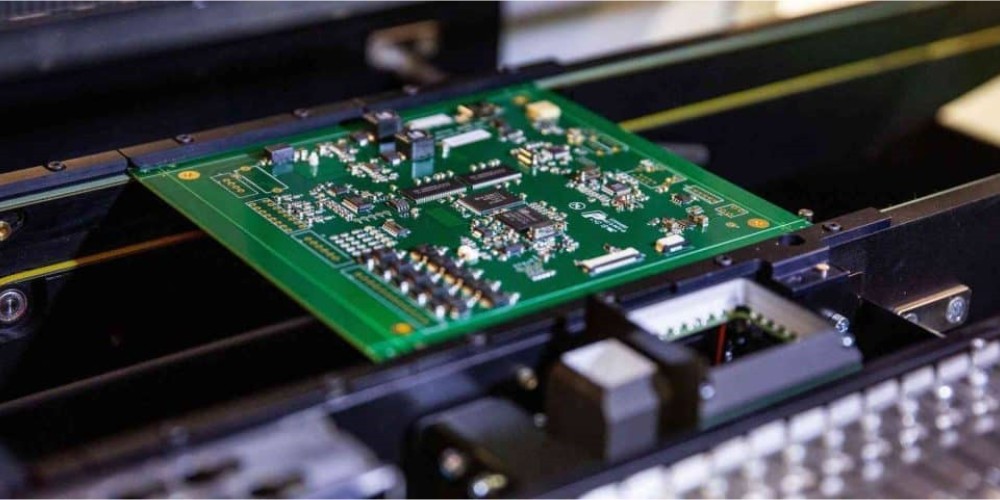
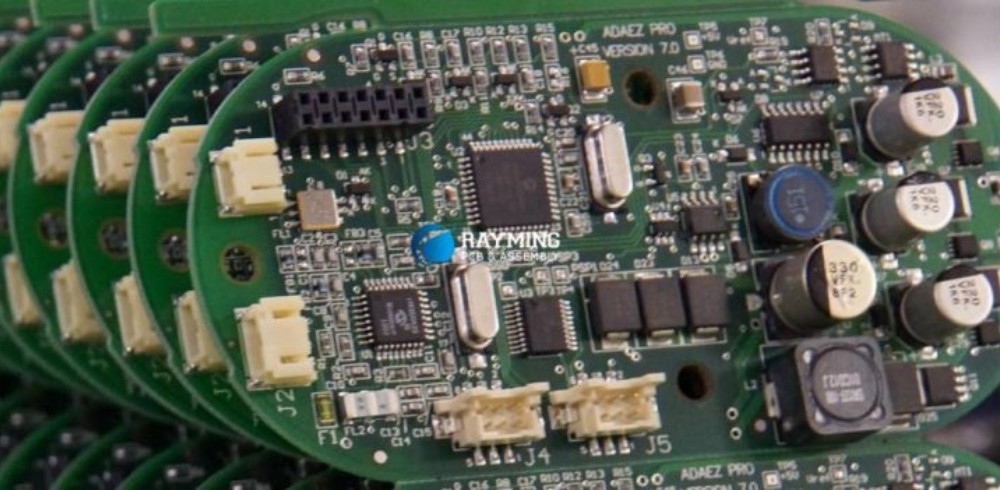
Printed circuit boards (PCBs) are essential components in almost all electronic devices and equipment. From smartphones and laptops to industrial control systems, PCBs provide the foundation on which electronic components are mounted and interconnected.
As an electronic hobbyist, maker, or startup company, you likely need to produce PCB prototypes during the design and testing phase. However, manufacturing PCBs professionally can be an expensive endeavor. This article will explore the cheapest methods available for making DIY PCBs on a budget.
Overview of PCB Manufacturing Processes
There are several ways PCBs can be fabricated:
Subtractive Method
The subtractive method was used earlier on in the PCB industry. It involves laminating a copper board and then etching away the unwanted copper to leave the desired copper traces. This method can produce high quality boards but generates a lot of chemical waste.
Additive Method
More modern PCB fabrication uses the additive method. In this process, the board starts without copper and the traces are added by electroplating the desired pattern. The additive method produces less chemical waste but requires more complex processing.
Photolithography
Photolithography uses light to transfer a pattern from a photomask to a photoresist coating on the copper board. The photoresist is then developed, exposing areas of copper to be etched away. This allows for the precise patterning required for complex PCBs.
Direct Metallization
For low volume PCB prototyping, direct metallization techniques can be used. These include processes like inkjet printing to deposit conductive traces onto the substrate.
CNC Milling
CNC milling uses a computer-controlled milling bit to carve away copper foil on a PCB blank to form the conductors. While less precise than other methods, it allows in-house prototyping without chemicals.
Cheapest Ways to Make PCBs
Taking into account equipment costs, material expenses, and processing complexity, here are some of the most affordable methods for DIY PCB fabrication:
Toner Transfer Method
- Overview:
- Uses a laser printer and glossy magazine paper to transfer a PCB pattern onto a copper clad board
- Repeatedly print the PCB layout image onto the magazine paper and transfer the toner onto the copper board using an iron
- Then etch away the exposed copper to leave the desired traces
- Equipment needed:
- Laser printer
- Laminator or clothes iron
- Etching chemicals
- Benefits:
- Very low equipment cost (printer and household items)
- Quick and easy process
- Limitations:
- Lower resolution and accuracy
- Single sided boards only
- Limited to simpler board designs
UV Exposure Method
- Overview:
- Apply a UV photosensitive emulsion onto a copper board
- Print the PCB layout onto a transparency sheet
- Use UV light to expose the emulsion through the transparecy mask
- Develop and etch the board to remove copper traces
- Equipment needed:
- UV exposure unit
- Transparency film or photomask
- Etching chemicals
- Benefits:
- Much better resolution than toner transfer
- Can produce double sided PCBs
- Limitations:
- Requires an exposure unit ($100-$300)
- More involved process
Vinyl Cutter Method
- Overview:
- Uses a vinyl cutter plotter to cut a PCB resist pattern onto vinyl
- Transfer the vinyl resist onto a copper board
- Etch away exposed copper
- Equipment needed:
- Vinyl cutter (around $100 for entry level cutters)
- Etching chemicals
- Benefits:
- Simple process after cutting the vinyl
- High resolution tracks possible
- Limitations:
- Limited to single sided boards
- Need access to a vinyl cutter
CNC Milling
- Overview:
- Uses a CNC milling machine to carve away copper on a PCB blank
- No chemicals required
- Equipment needed:
- CNC milling machine (entry level machines around $300)
- Copper clad board
- End mills for PCB milling
- Benefits:
- Environmentally friendly, no chemicals
- Can produce multi-layer boards
- Limitations
- High equipment cost
- Lower resolution than other methods
- Learning curve for CNC milling process
Additional Cost Considerations
Here are some other factors to keep in mind when budgeting for your DIY PCB project:
- Board Materials – The blank PCB substrate can range from $2-$15 depending on size and copper thickness. Photosensitive boards cost more.
- Chemicals – For wet etching methods, you’ll need etching solution like ferric chloride, along with resist remover and other chemicals. This can cost around $40-$50 to get started.
- Shipping – If ordering boards or materials from an online PCB fabrication shop, shipping expenses can add $10-$20 or more.
- Software – While open source PCB layout software is available (Kicad), higher end programs cost $100-$300 (Eagle, Altium etc).
- Tools – A Dremel or other rotary tool is useful for trimming and cleaning up boards, budget around $50.
- Safety Equipment – Gloves, goggles, respirator if using chemicals, add around $20-40 in safety gear.
- Waste Disposal – Proper chemical waste disposal if etching PCBs at home, can be $10-$20.
Guide to Making PCBs with Toner Transfer
To demonstrate the process, here is a step-by-step guide to making PCBs using the toner transfer method:
Step 1: Design the PCB Layout
- Create the PCB design in CAD software like KiCad or Eagle
- Include assembly drill holes and labels
- Print out as a 1:1 scale image on glossy magazine paper
- For best results, make the traces larger than 10 mils (~0.25mm)
Step 2: Prepare the Copper Clad Board
- Lightly sand the copper surface to improve toner adhesion
- Clean the board with isopropyl alcohol to remove oils
- Cut the board if needed to fit your PCB design
Step 3: Transfer the Toner
- Place the printed PCB image on the copper board with toner side down
- Apply heat and pressure using an iron or laminator, around 250°F for 3-5 minutes
- Let it cool, then soak in water to soften the paper backing
- Gently remove the paper, leaving the toner stuck to the copper
- Repeat if needed to get full toner coverage
Step 4: Etch the Board
- Mix the etching solution (ferric chloride or etching acid)
- Submerge the PCB and agitate for 10-15 minutes
- Copper with no toner protection will etch away
- Rinse and clean the board to stop the etching
Step 5: Finish the PCB
- Check for any unetched copper needing touch up etching
- Remove the toner resist using acetone
- Trim, drill, and clean the finished PCB board
- Solder components in place and test your circuit!
FQA
What resolution can you expect with toner transfer?
The toner transfer method can reliably produce traces down to 10 mils (0.25mm) in width. For better resolution down to 5 mils, photolithography or vinyl cutting is recommended.
How do you get the toner to stick to the copper?
Light abrasion of the copper surface helps improve toner adhesion. Using glossy magazine paper allows the toner to release more cleanly onto the copper. Proper heat and pressure helps make the transfer.
Is there software for designing PCB layouts?
Yes, open source programs like KiCad allow you to design schematics and PCBs. There are also paid options like Eagle, Altium, and others. These programs output Gerber files needed for fabrication.
Can you etch double sided boards with toner transfer?
While possible, it is very difficult to successfully align both sides of a double sided board using the toner transfer technique. Other methods like CNC milling are better for multilayer boards.
How long does the etching process take?
Etch times vary based on the strength of the etchant, temperature, and agitation methods. Typical times are 10-20 minutes in ferric chloride solution. Watch closely near the end and rinse the moment the copper is fully etched.
Conclusion
Making DIY PCBs at home can be an affordable option with some clever tricks and methods. The toner transfer technique outlined here allows fabricating simple PCBs with just a laser printer and household materials for under $50. With some practice, it can provide a low cost option for creating custom circuit boards for prototypes and hobby projects on a budget.


Leave a Reply