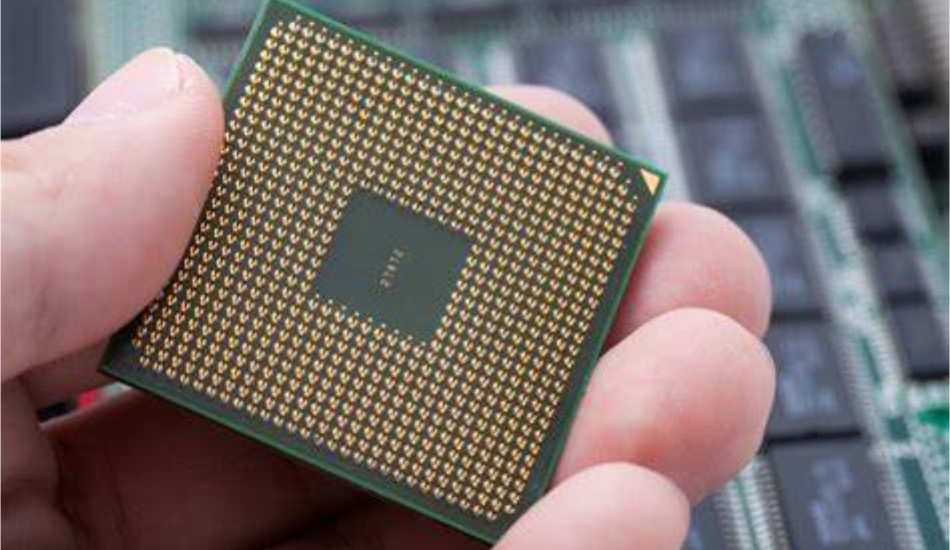
What are Blind Vias?
A blind via is a hole that connects different layers of a printed circuit board (PCB) without going all the way through the entire board. Blind vias are only open on one side, stopping at an internal layer. They allow connections between layers that are not on the surface of the PCB.
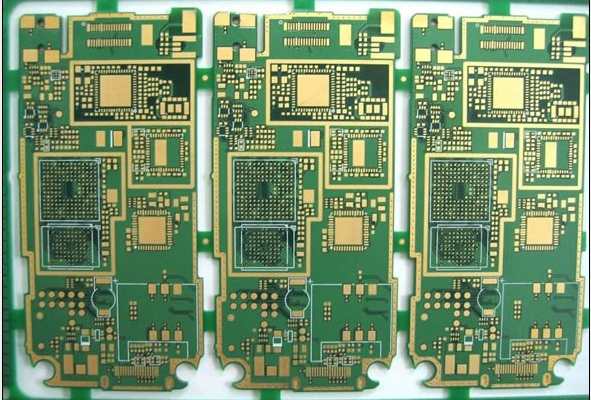
Blind vias are extremely useful in complex, multilayer PCBs as they allow routing connections between internal layers without using up surface space. This helps maximize the available space for components and routing on the outer layers of the board.
Some key characteristics of blind vias:
- Connects two or more internal layers without reaching the surface layers
- Only open on one side of the PCB
- Allows connections between internal layers
- Frees up space on outer layers compared to through-hole vias
- More complex process to manufacture than through-hole vias
- Requires careful planning and design
Benefits of Using Blind Vias
There are several advantages to using blind vias in your PCB design:
Save Space
Blind vias conserve routing space on the surface layers since they do not break out to the top or bottom of the board. This is important for high density designs where space is limited.
Avoid Clashing Traces
With blind vias, you can route connections on inner layers without interfering with traces on outer layers. This avoids having to route around through-hole vias on the top or bottom.
Reduce Layer Jumps
Blind vias allow you to minimize the number of layer transitions a trace makes. This helps meet impedance matching and coupling requirements.
Improve Manufacturability
Blind vias are easier to plate and fill than through-hole vias, leading to better hole walls and improved reliability. This makes them preferable for smaller via sizes.
Enable High-Speed Design
Blind and buried vias exhibit better signal integrity at high frequencies compared to through-hole vias. Their shorter length reduces unwanted capacitance and impedance discontinuities.
Facilitate Component Placement
With blind vias, components can be placed based on logical function without worrying about vertical alignment for routing vias. This simplifies layout.
Reduce Costs
Blind vias enable higher component density PCBs, which can significantly reduce costs by minimizing the board size and layer count.
Improve Signal Integrity
Properly designed blind and buried vias have minimal impact on signal integrity. They avoid stub effects and impedance mismatches common with through-hole vias.
Provide Design Flexibility
Blind vias give designers much more flexibility in routing dense, complex boards with many layers. More options are available to route connections.
Enable 3D Integration
Blind vias allow vertical System-in-Package (SiP) and Package-on-Package (PoP) integration by connecting different IC dies stacked on top of each other.
When to Use Blind Vias

Here are some guidelines on when blind vias can be useful in your design:
- High density PCB with limited surface space
- Need connections between non-adjacent layers
- Complex board with 6+ layers
- High-speed design over 500 MHz
- Matching differential pair lengths
- Noise-sensitive analog routing
- Minimizing via stubs effects
- Vertical System-in-Package (SiP) or Package-on-Package (PoP)
- Power plane stitching on inner layers
If your board does not meet several of these criteria, through-hole vias may be sufficient unless you need the added benefits of blind vias.
Challenges of Working with Blind Vias
While blind vias provide many benefits, they also pose some design challenges:
- More complex layout and routing
- Requires specialized CAD tools
- Must plan via locations early in design process
- Difficult to probe or repair if faulty
- Requires advanced PCB fabrication process
- Potential alignment issues between layers
- Minimizing stub effects requires planning
- Testing for opens more difficult
- Often requires impedance matching components
- Can act as antennas if improperly designed
Working with blind vias requires careful planning and execution to avoid pitfalls. Your PCB designer needs the proper CAD tools and expertise to implement them successfully.
Design Guidelines for Using Blind Vias
Follow these guidelines when working with blind vias in your PCB design:
Plan Ahead
Determine likely routing connections between layers early so via locations can be planned. Last minute changes are hard.
Minimize Unneeded Vias
Only use blind vias where they are really needed. Unnecessary vias take up space and hurt reliability.
Watch Your Aspect Ratio
Keep blind via barrels short and avoid extremely high aspect ratio vias if possible. These are harder to plate properly.
Maintain Symmetry
Use symmetrical blind and buried via patterns whenever possible. This provides more uniform etching.
Don’t Violate Planes
Avoid creating islands and splits in ground or power planes. This can cause EMI and SI issues.
Mind Your Transitions
Design controlled impedance transitions where traces change layers using blind or buried vias.
Reduce Stubs
Minimize stub lengths by placing vias close to where traces change layers. Stubs cause reflections.
Prepare Test Points
Include appropriate test points for confirming blind via connectivity and quality during manufacturing.
Stackup Considerations for Blind Vias
Pay attention to PCB layer stackup when working with blind vias:
- Plan inner layer order to optimize required connections
- Ensure enough separation between blind via depths
- Consider reserving layers for blind vias only
- Use thicker dielectrics between blind via layers
- Add ground planes between sensitive signals if needed
- Allow space for epoxy fill if used
Manufacturing Blind Vias
Fabricating PCBs with blind vias requires advanced manufacturing processes:
- Laser drilling is commonly used to form blind via holes
- Precise depth control needed during drilling
- Plating process must plate interior of blind vias
- May require plugging for holes not to be plated
- Special via fill process to plug holes
- Might utilize conductive or non-conductive epoxy
- Testing for potential opens more complex
- Require x-ray inspection to verify plating quality
- Additional steps increase cost vs. through-hole vias
Blind Via Failure Modes
It’s important to be aware of potential blind via failure modes:
- Plating voids – gaps in plated copper on hole walls
- Insufficient hole fill – can lead to air gaps
- Mechanical separation – pad lifting or drill smear
- Misregistration – layers not aligned properly
- Skewed angles – vias not drilled perpendicular
- Reduced reliability – cracks or fractures over time
- Difficult to rework if faulty – may require drill/fill
Tools to Design Blind Vias
You need the right tools to properly implement blind vias:
- PCB design software with blind/buried via support
- Controlled impedance and high-speed features
- Integrated 3D editing environment
- DFM tools for manufacturability checks
- Modeling, simulation and signal integrity analysis
- Library of validated footprints and 3D models
- Step by step documentation and help resources
Example Blind Via Implementation
Here is an example 6 layer PCB section using blind vias for routing:
| Layer | Notes |
|---|---|
| Top | Surface signal traces |
| L2 | Ground plane. Blind vias connect L3-L4 and L4-L5. |
| L3 | Power plane. Contains blind vias. |
| L4 | Signal routing layer. Blind vias connect up to L2 and down to L5. Avoid stubs. |
| L5 | Signal routing layer. Blind vias connect up to L4 and down to bottom layer. Avoid stubs. |
| Bottom | Surface signal traces. Connects to blind vias from L5. |
This stackup allows signals on L4 and L5 to transition between layers using blind vias to avoid using space on the surface layers. The ground plane provides shielding between the power and signal layers.
Blind Vias FAQ
Here are answers to some frequently asked questions about blind vias:
Q: Are blind vias more expensive than through-hole vias?
A: Yes, the additional manufacturing steps required for blind vias typically makes them a more expensive option. However, they can reduce overall costs by enabling smaller PCBs or fewer layers.
Q: Can microvias be blind or buried?
A: Yes, microvias with diameters under 0.15mm are often designed as blind or buried vias between layers. Laser drilling helps create the small holes.
Q: Do I need special CAD tools to layout blind vias?
A: You need PCB design software with the ability to properly define blind and buried vias. The tool should interface with analysis software to model performance.
Q: How do I test for opens with blind vias during manufacturing?
A: Testing for potential opens requires techniques like flying probe testing, x-ray imaging, or OCT to verify connectivity through blind vias.
Q: Can I repair a defective blind via?
A: It is very difficult to repair blind vias without drilling to the surface layer. This often requires scrapping the board if multiple blind vias are faulty.


Leave a Reply