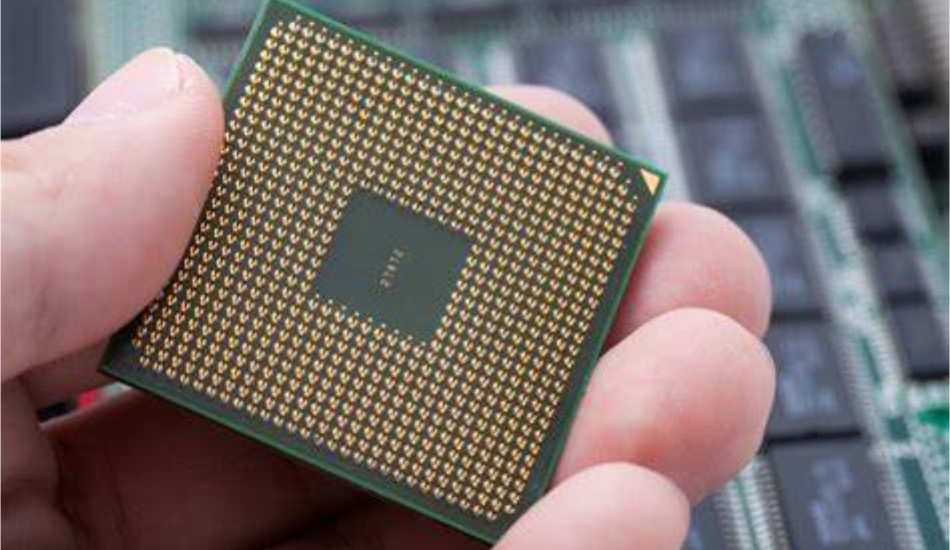
Introduction
In printed circuit board (PCB) design, vias are plated through-holes that provide electrical connections between different copper layers. While vias are essential components in complex PCBs, designers often try to minimize and avoid using unnecessary vias. This article explores the reasons why engineers aim to reduce vias, the problems vias can cause, and guidelines for avoiding vias where possible.
What are vias?
Vias provide vertical interconnections between the copper layers in a PCB. They allow signals to pass between layers and connect components on the surface of the board to inner layer traces.
There are several types of vias:
- Through-hole vias – Go through the entire board from top to bottom.
- Blind vias – Connect an outer layer to one or more inner layers but do not go through the whole board.
- Buried vias – Only connect inner copper layers.
Vias consist of plated holes with annular rings around them on each layer they connect. They are filled with metal plating to create a conductive path between layers.
Here is a cross-section diagram of a via connecting four copper layers in a PCB:
| Layer 1 | Layer 2 | Layer 3 | Layer 4 |
|---|---|---|---|
| Copper | Insulating dielectric | Copper | Copper |
| Via barrel | Via barrel | Via barrel | |
| Insulating dielectric | |||
| Copper |
Table: Cross-section of a via connecting four PCB layers
Why avoid vias?
While vias are essential PCB features, engineers generally try to minimize and avoid unnecessary vias in their designs. Some of the reasons for via avoidance include:
Manufacturing difficulties
- Vias increase drilling costs and manufacturing complexity. Minimizing vias reduces PCB fabrication costs.
- Poor drilling alignment can cause reliability issues like opens or shorts.
- Plating the via holes is an additional process step.
- Filling and plating via holes is more difficult with increasing aspect ratios.
Signal integrity
- Vias introduce impedance discontinuities that can reflect high-speed signals and cause signal integrity issues.
- The capacitance of the via barrel can load signals and cause distortion.
- The inductance of a via can limit high frequency performance.
Thermal management
- Vias act as thermal barriers due to their poor conductivity compared to copper. This hampers heat dissipation.
- Many vias underneath a component act as ‘thermal vias’ spreading heat but too many vias can thermally isolate sections.
Reliability and yield
- More vias increase the risk of opens and shorts reducing manufacturing yield.
- Vias are prone to cracking with board flexing due to their rigidity.
- Plating voids or gaps within vias can develop over time and cause intermittent failures.
Routability
- Lots of vias complicate trace routing and can cause routing congestion.
- Auto-routers handle vias less efficiently.
Repairability
- Re-working and repairing vias is more difficult than routing traces.
- Dense via fields hinder access during rework.
EMI control
- Vias can act as antennas, radiating EMI. Minimizing vias helps reduce emissions.
Cost
- Ultimately more vias increase PCB costs through higher drilling, plating, and potential rework costs.
Problems caused by excessive vias
Using too many unnecessary vias in a PCB design can lead to the following problems:
- Signal integrity degradation – reflections, delays, distortion
- Thermal dissipation issues, hotspots under components
- Manufacturing defects – shorts, opens, drilling registration errors
- Reliability concerns – cracking, voids leading to intermittent failures
- EMI/EMC problems – radiation from via antennas
- Design for Manufacturing (DFM) violations – exceeding maximum via counts or aspect ratios
- Difficulty routing dense via fields
- Challenging rework and repair
- Higher fabrication costs
Therefore, engineers must strike a careful balance, including sufficient vias for connectivity while minimizing redundant or excessive vias.
Guidelines for avoiding unnecessary vias
Here are some practical tips to avoid overusing vias:
1. Careful layer stack planning
- Stackup design is foundational – ensure adjacent routing layers minimize cross-layer interconnects.
- Plan power and ground layers to blanket the board area as much as possible.
- Include sufficient routing layers – 4 to 6 layers minimum for most designs.
2. Component placement
- Position components to minimize trace length and layer transitions.
- Group associated circuits on the same layer.
- Ensure adjacent pins connect on the same layer.
- Rotate components to optimize connectivity.
3. Net scoping
- Assign critical nets to adjacent layers first.
- Scope nets to minimize layer transitions.
4. Grid design
- Set routing grids to align with component pads.
- Maintain same grid pattern on adjacent layers.
5. Single-net routing
- Route nets completely on one layer as far as possible before changing layers.
6. Area fills
- Use copper pours/polygons for ground planes rather than ground traces.
- Avoid voids in ground planes that require vias.
7. Auto-routers
- Set rules to restrict unnecessary layer changes.
- Limit via counts per area in settings.
8. Library parts
- Use manufactured footprints that comply with DFM rules.
- Substitute dual row headers for single row to reduce layer jumps.
9. Manual routing
- Route traces point-to-point before swapping layers.
- Verify if layer change vias are really required.
Following these guidelines will help significantly reduce unnecessary vias in a design. But use vias liberally where needed to produce a high-quality, manufacturable board.
FAQ
Here are some frequently asked questions about avoiding vias:
Q: Is there a maximum via count I should aim for?
A: While there are no fixed limits, as a rough guide:
- 100-300 vias – acceptable for simple boards
- 300-500 vias – moderate for complex boards
- 500-1000+ vias – high, inspect design to avoid overuse
- 1000+ vias – extremely high, re-evaluate design
Of course, evaluate maximums based on board size, technology, and capabilities.
Q: When should I not avoid vias?
A: Avoid via minimization on critical nets like clock signals where impedance control is mandatory. Use sufficient thermal vias under hot components. Utilize stitching vias around board edges and exposed copper for reliability. Include testpoints to facilitate testing.
Q: Can I always place components on the layer with their matching traces?
A: Sometimes ideal component placement for routing causes problems for assembly, testing, or serviceability. Compromises may be needed to balance connectivity with manufacturability.
Q: How can I estimate the number of vias needed in my design?
A: Some rough heuristics:
- Count component pad connections off-grid – vias likely needed.
- Assume 1 via for every 2-4 traces crossing layers.
- Multiply signal groups crossing layers by layer count.
Execute the design following via reduction guidelines, then simply count total vias used.
Q: Should I use blind/buried vias or stick to through-hole vias?
A: Blind/buried vias can significantly reduce layer transitions in complex boards. But they increase manufacturing cost. Through-hole vias provide the most reliable connectivity. Evaluate the tradeoffs for your design.


Leave a Reply