
Introduction
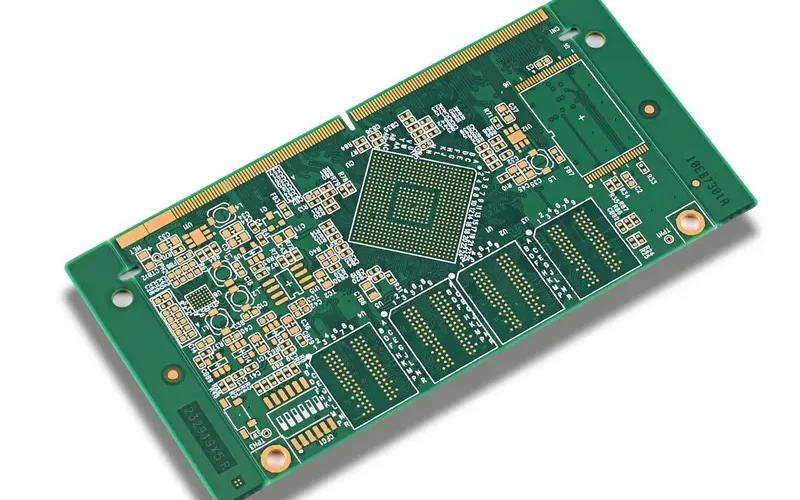
Blind vias are an essential component in many printed circuit board (PCB) designs today. A blind via is a hole that connects different layers of a PCB without going all the way through the entire board. Blind vias allow connections between internal layers of a multilayer board while avoiding the cost and complexity of through-hole plating.
In this article, we will examine blind via design considerations and best practices when using Altium Designer. We’ll look at how to create and configure blind vias correctly to achieve optimal manufacturability and performance.
Blind Via Basics
A blind via connects two or more internal layers of a PCB without connecting to the external layers. This provides several advantages:
- Saves space – Stacking vias in the z-axis frees up board area.
- Improved signal integrity – Shorter trace lengths lower inductance.
- Lower cost – Eliminates through-hole plating.
- Layer isolation – Prevents signals on inner layers from reaching external layers.
Blind vias are fabricated by drilling into the PCB partway, then plating the barrel to connect the internal layers. The depth is precisely controlled to avoid breaking through to the outer surfaces.
Here is a cross-section diagram of a PCB with two blind vias:<table> <tr><td>
| Layer 1 | Layer 2 | Layer 3 | Layer 4 | Layer 5 |
|---|---|---|---|---|
| Signal | GND | Pwr | Signal | |
| Show Image |
</td></tr> </table>
The via on the left connects Layers 1 and 3. The via on the right connects Layers 2, 3, and 4. Neither connects to the outer Layer 5.
Blind Via Configuration in Altium
Creating a blind via in Altium Designer is straightforward. Here are the steps:
- Set the layer span by choosing the Top Layer and Bottom Layer for the via. This will define the internal layers to connect.
- Check the “Blind Via” box in the Properties panel.
- Specify the desired via hole diameter.
- Choose the applicable hole clearance rule.
- Set other properties like copper plating and hole tolerance as needed.
The layer span and blind via checkbox tell Altium to create a buried connection between the selected layers. The hole size and clearance define the manufacturable geometry.
It’s crucial to pay attention to the layer span selection. Choosing the wrong top/bottom layers will result in unconnected vias. Always double check the span to match your circuit requirements.
Blind Via Design Rules
Like other PCB features, blind vias have customizable design rules in Altium. The rules control the allowable geometry and layout to meet manufacturability needs.
Here are some important blind via design rules to consider:
- Minimum Hole Size – The drill bit size for blind vias is usually ≥ 0.2 mm (8 mil). Smaller holes risk inaccuracy.
- Minimum Annular Ring – A larger ring around the hole is required for blind vias to allow for depth alignment tolerance. ≥ 0.15 mm (6 mil) annular ring is recommended.
- Depth Tolerance -Specify an adequate z-axis tolerance for your board shop’s drilling precision. ≥ 0.15 mm (6 mil) depth tolerance is common.
- Via-to-Via Spacing – Blind vias require closer spacing than regular vias since they cannot connect between layers. Allow ≥ hole size spacing between blind vias.
- Layer Span – Define the minimum and maximum set of layers the blind via can connect. This prevents incorrect connections.
Blind vias have tighter tolerances than standard vias. Consult with your PCB manufacturer on their specific capabilities before setting the design rules.
Optimizing Blind Via Placement
Mindful placement of blind vias during layout is important for performance and reliability. Here are some tips:
- Place near signal sources – Minimize the stub length from pads or traces to the via barrel. This reduces reflective noise.
- Avoid high density clustering – Group vias together in a small area can cause drilling challenges. Space them evenly.
- Orient evenly between layers – Staggering blind vias diagonally between layers helps reduce drilling stresses.
- Keep out of high current areas – Avoid placing blind vias underneath sensitive components or in high current power paths.
- Allow adequate redundancy – Include backup vias in case some are blocked during fabrication.
Test your blind via placement thoroughly in Allegro’s PCB Editor. Examine the 3D model with hidden layers enabled to validate connections between layers.
Verifying Manufacturing Output
Once PCB layout is complete, carefully inspect the Gerber and NC drill files before manufacturing. Here are some important checks:
Drill Drawing – Confirm all blind via holes are present at the correct locations.
X-Ray View – View inner layer connectivity with an X-ray image.
3D View – Visually validate stub connections are correct in the 3D PCB model.
Layer Stackup – Review the layer count, order, and blind via spans.
Design Rules – Verify all design rules related to blind vias have been satisfied.
DRC Report – Check the design rule check does not report any blind via errors.
Thoroughly inspecting the manufacturing data will avoid faulty blind via connections being produced.
Conclusion
Blind vias enable more compact, high-performance PCB designs by connecting inner layer signals vertically. Configuring blind vias properly in Altium and intelligently placing them during layout are key to maximizing manufacturing yield and circuit reliability. Following the recommendations outlined in this article will help you successfully integrate blind vias into your next multilayer board project.
Frequently Asked Questions
Q: What are some typical applications for blind vias?
A: Some common uses of blind vias include:
- Via transitions in multilayer stripline or microstrip transmission lines
- Connecting components pads to inner layer power/ground planes
- Stacking multiple vias underneath BGA packages or other high pin-count components
- Routing internal signals between layers to avoid congestion on outer layers
- Creating shielded compartments by isolating internal signals from outer layers
Q: Can I stack blind and through-hole vias together?
A: Yes, you can combine blind and through-hole vias in a single via structure. The through-hole via would drill completely through the PCB while the blind via would only penetrate partially between its specified layers. This allows splitting connections – some nets going to inner layers only and some continuing to the outer surfaces.
Q: What are the disadvantages of using blind vias?
A: Blind vias have some drawbacks including:
- More complex PCB fabrication, requiring depth-controlled drilling
- Potential for misalignment between layers if not precisely registered
- Requires smaller drill bits that break more easily
- Depth tolerance reduces annular ring clearance
- Not suitable for high-voltage applications due to thicker layer dielectric
- Difficult to probe or repair if buried under outer layers
Q: Can microvias be blind or buried?
A: Yes, blind and buried microvias are very common. Microvias are small vias with a diameter less than 150 microns (0.006″). Their small size allows fabrication of blind/buried vias with very tight layer spans to maximize routing density. High layer count boards often contain many blind/buried microvias.
Q: Are there alternative ways to route between layers besides blind vias?
A: A few alternatives to blind vias include:
- Through-hole vias – Go through entire board but take up more space.
- Buried vias – Similar to blind vias but do not connect to either outer layer.
- Skip vias – Jump over one layer to connect non-adjacent layers.
- Direct layer-to-layer interconnects – Discrete pads/traces connecting layers.
- Component pins – Use extra long component leads to span multiple layers.
Each approach has tradeoffs to consider in terms of layout, cost, and manufacturability.


Leave a Reply